
Configuring the network properties
2024-05-10Last updated
To make sure the Synergis™ Cloud Link unit can be reached on your Security Center system’s network, you must configure the unit's network properties.
What you should know
Procedure
-
(Optional) In the Hostname section, change the
Hostname if required.
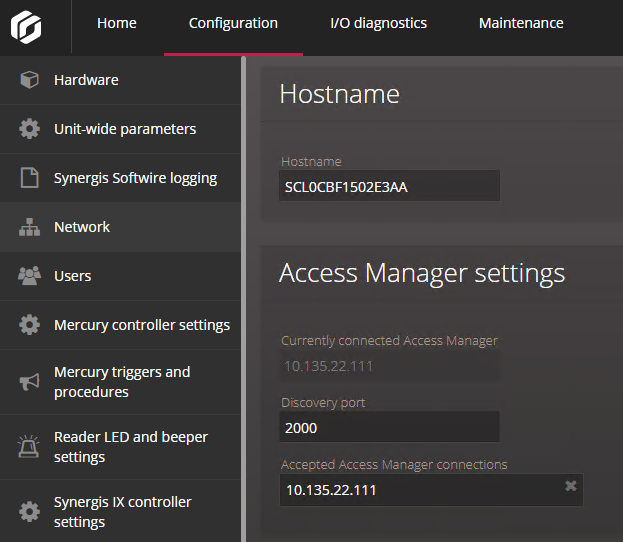 Best Practice:Hostnames must be unique on a network, and the default hostname is guaranteed to be unique. We therefore recommend that you keep the default hostname, which is found on the appliance's label.
 -
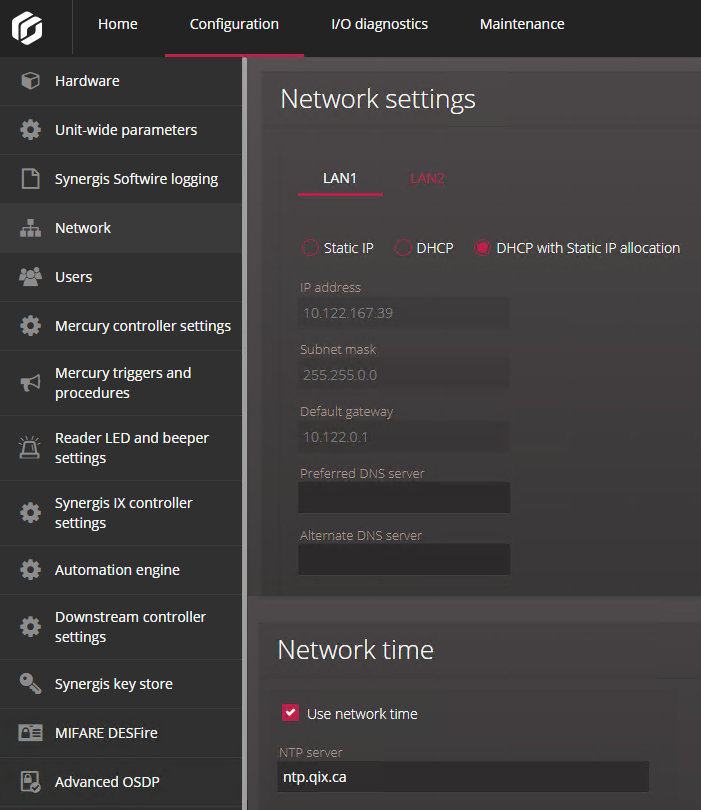
In the Network settings section, select the
LAN1 or LAN2 as the network
interface used to connect the Synergis Cloud Link unit to
its Access Manager, and then configure the Synergis Cloud Link unit’s IP address and network properties.
Important:To avoid network issues, strict rules must be followed when configuring the unit's network properties:
- If the unit is not on the same network segment as the Access Manager, then the unit's IP address must be set to Static IP or DHCP with Static IP allocation.
- LAN1 and LAN2 should not be on the same subnet. If they are, only one of them should be configured with a default gateway.
-
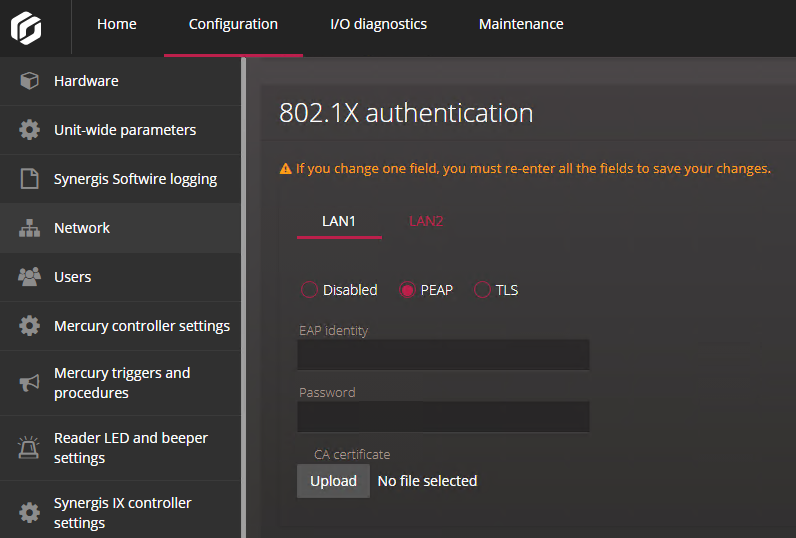
In the 802.1X authentication section, select the LAN you want
to use for 802.1X authentication and select the authentication mode.
Note:If you configured these settings once, their current values are displayed. If you need to change a value, you must re-enter all values. Otherwise, your change will not be saved.
- Disabled
- The 802.1X authentication is disabled by default.
- PEAP
- Use the Protected Extensible Authentication Protocol (PEAP). Enter the EAP identity (username) and Password, and upload the CA certificate.Note:The CA certificate must be a PEM or DER file.
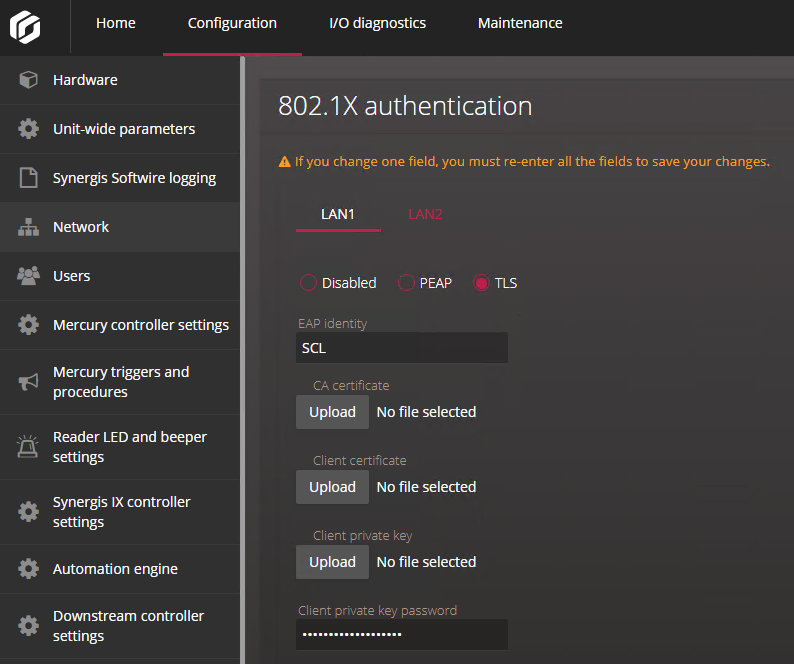
- TLS
- Use the Transport Layer Security (TLS) protocol.Enter the EAP identity (username), upload the CA certificate, Client certificate, and Client private key, and enter the Client private key password.Note:The CA certificate must be a PEM or DER file.
If you have enabled network time, the unit synchronizes with the NTP server 45 seconds after the setting is enabled, and then every 15 minutes.